Create an LDAP provider
Create Service account
-
Create a new user account to bind with under Directory -> Users -> Create, in this example called
ldapservice.Note the DN of this user will be
cn=ldapservice,ou=users,dc=ldap,dc=goauthentik,dc=io
Note: The default-authentication-flow validates MFA by default, and currently everything but SMS-based devices and WebAuthn devices are supported by LDAP. If you plan to use only dedicated service accounts to bind to LDAP, or don't use SMS-based authenticators, then you can use the default flow and skip the extra steps below and continue at Create LDAP Application & Provider
LDAP Flow
Create Custom Stages
- Create a new identification stage. Flows & Stage -> Stages -> Create
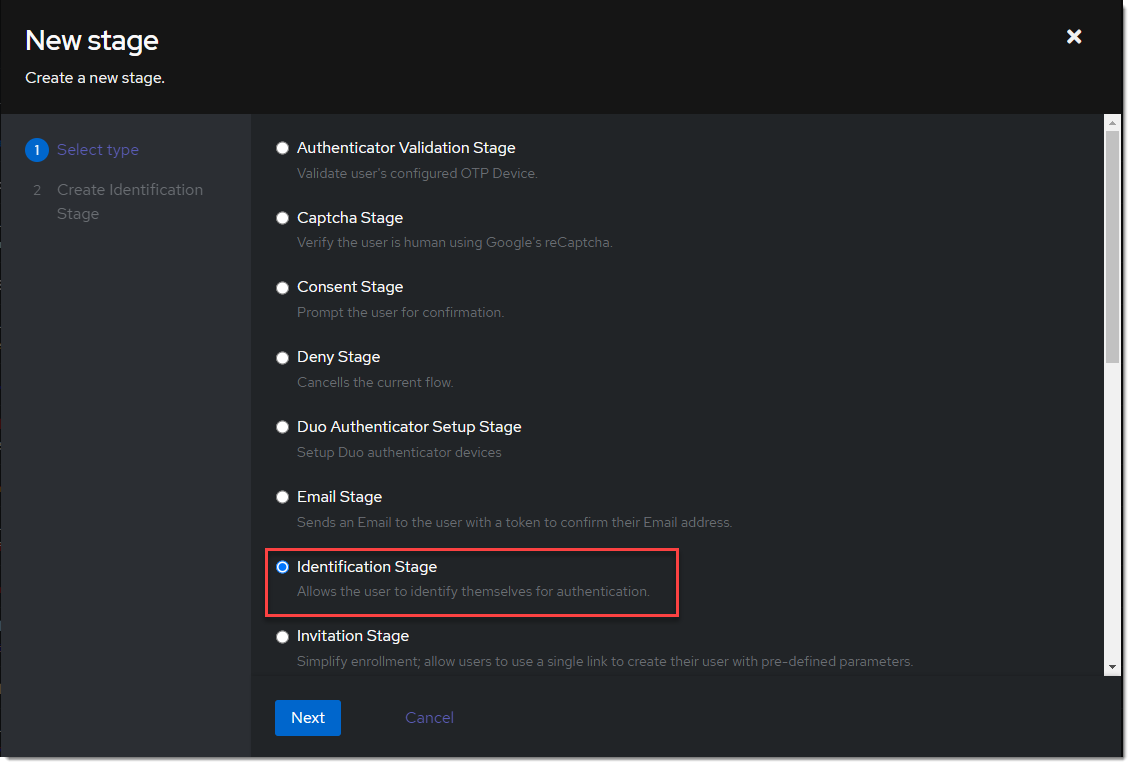
- Name it
ldap-identification-stage. Select User fields Username and Email (and UPN if it is relevant to your setup).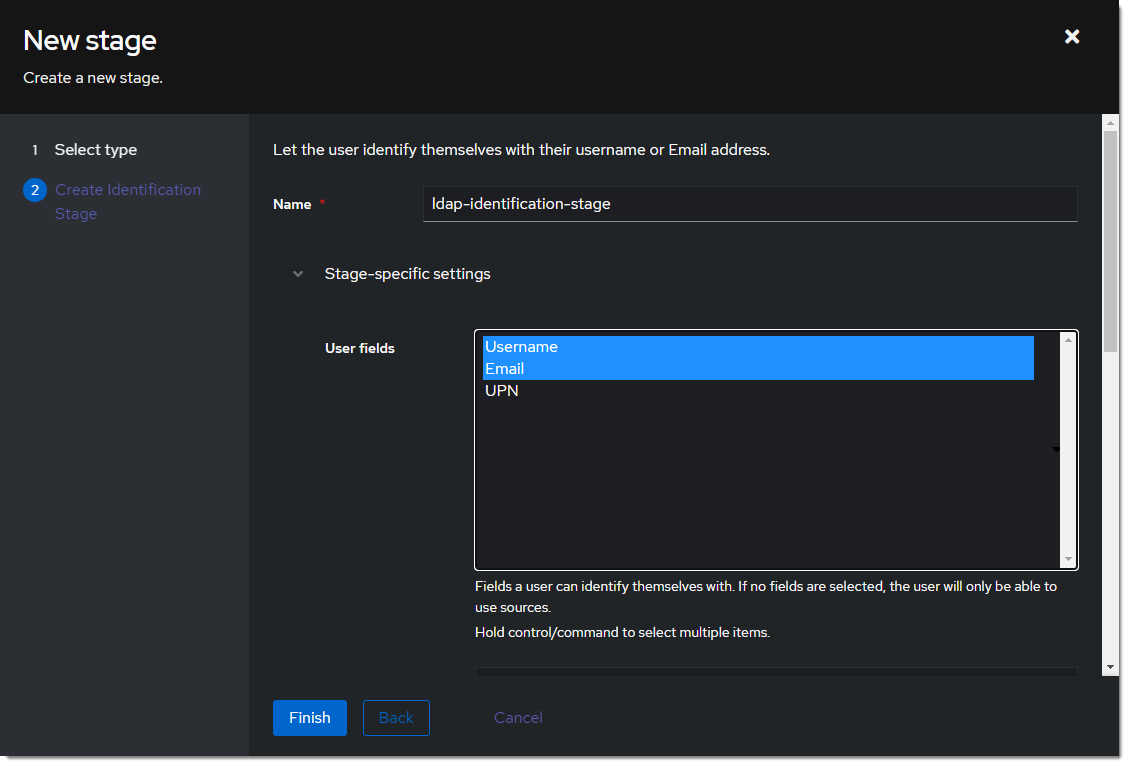
- Create a new password stage. Flows & Stage -> Stages -> Create
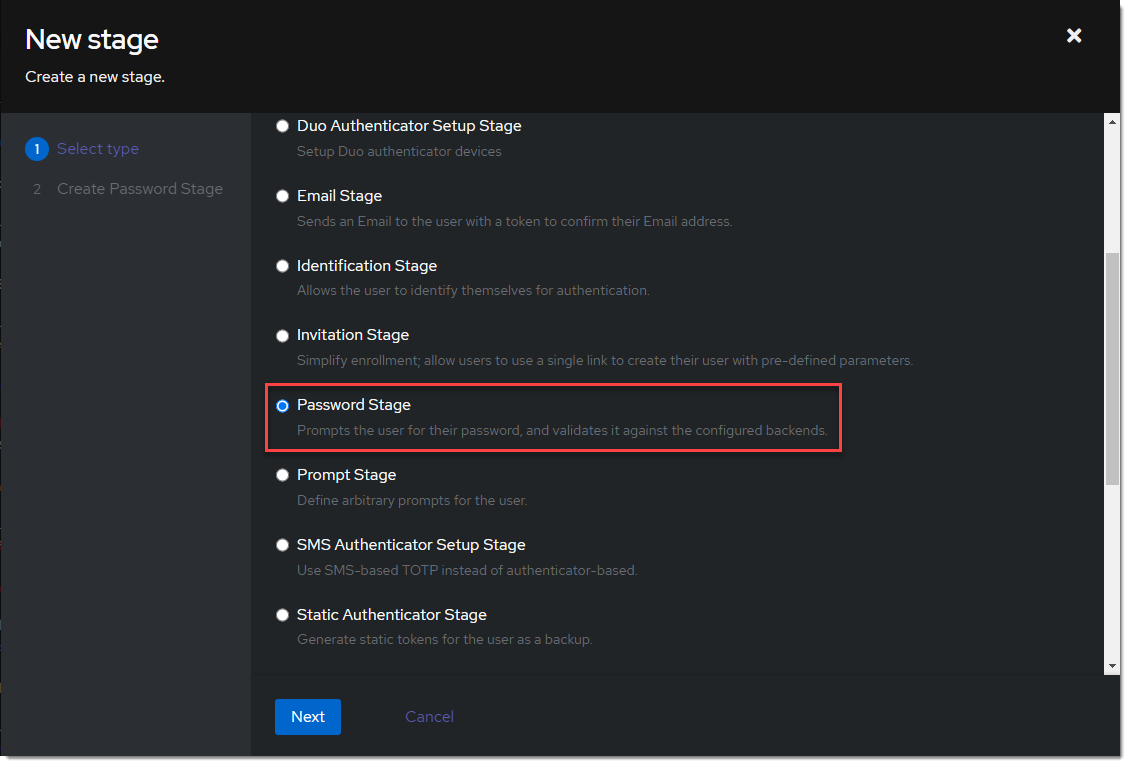
- Name it
ldap-authentication-password. Leave the defaults for Backends.
- Create a new user login stage. Flows & Stage -> Stages -> Create
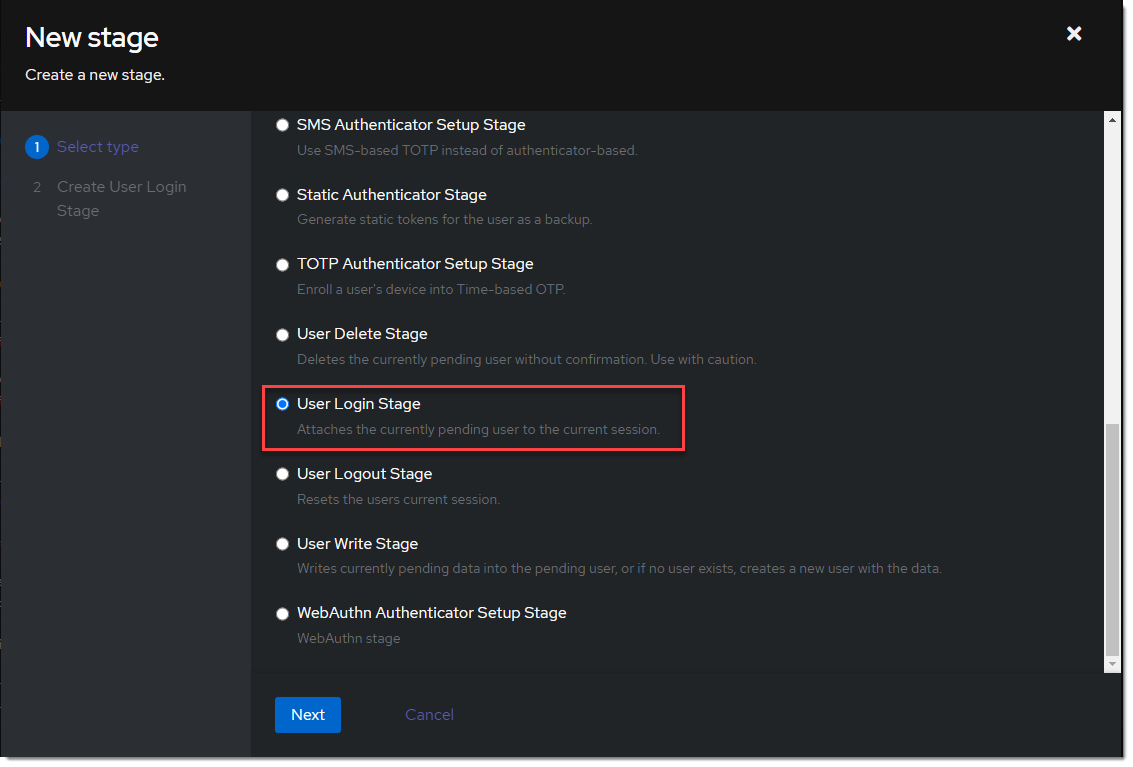
- Name it
ldap-authentication-login.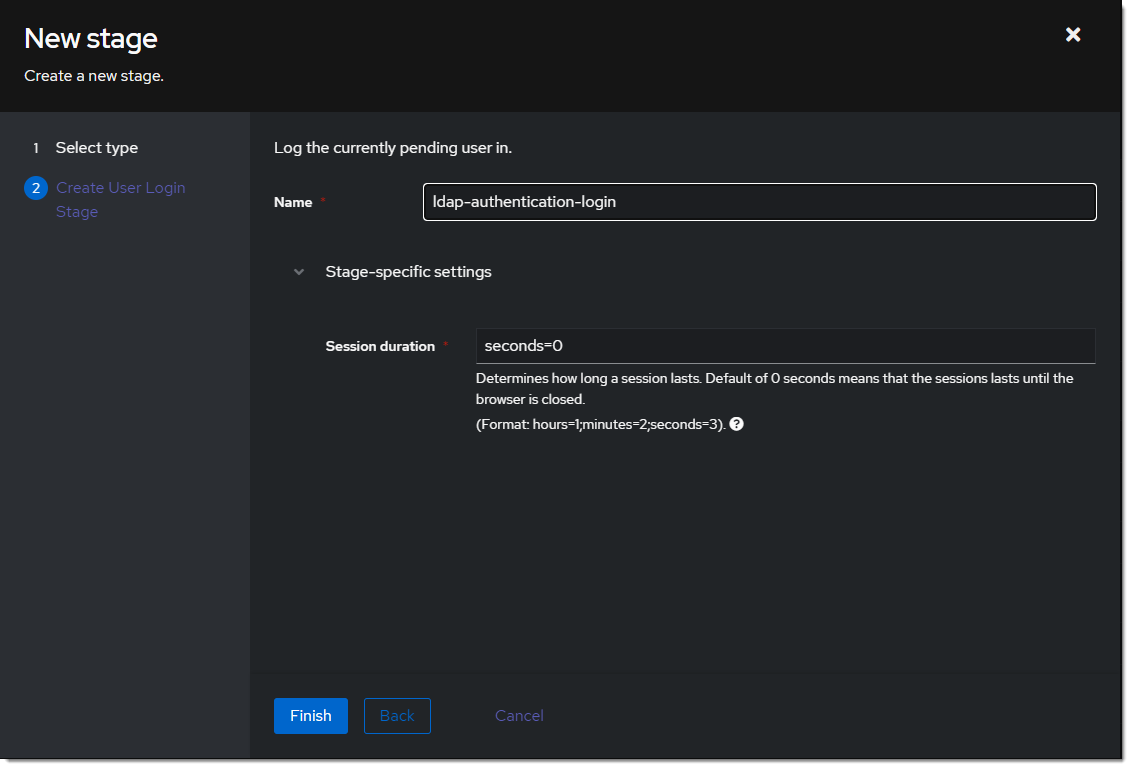
Create Custom Flow
- Create a new authentication flow under Flows & Stage -> Flows -> Create, and name it
ldap-authentication-flow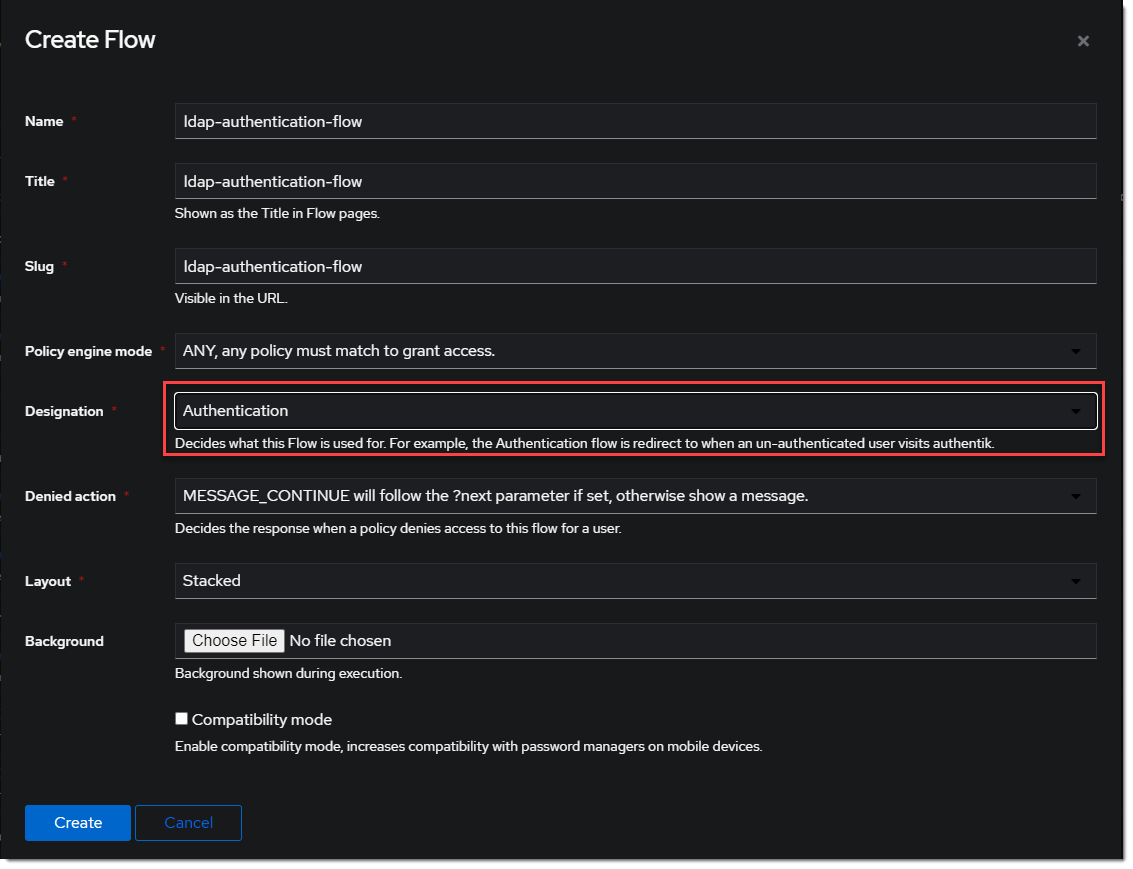
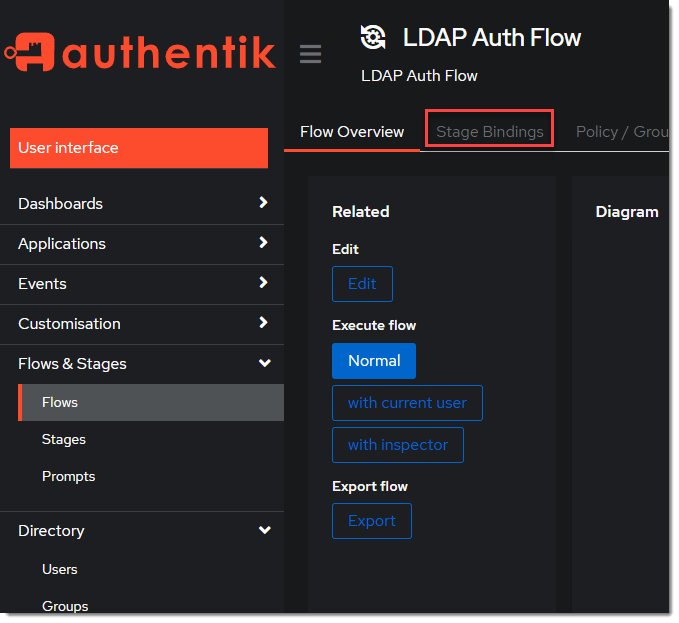
- Click the newly created flow and choose Stage Bindings.
- Click
Bind Stagechooseldap-identification-stageand set the order to10.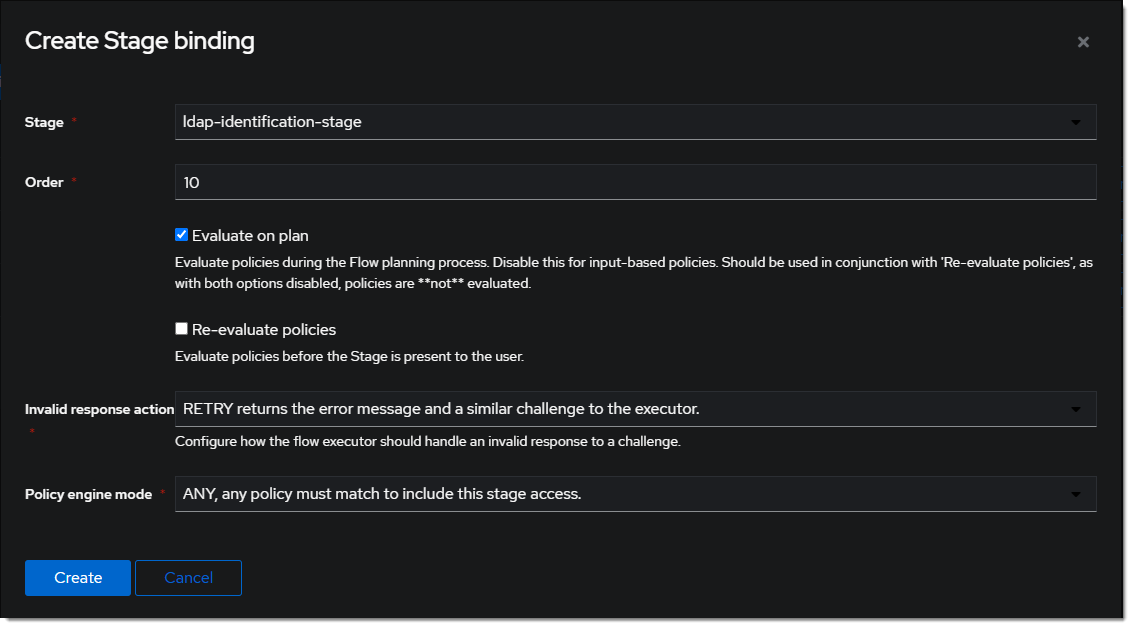
- Click
Bind Stagechooseldap-authentication-loginand set the order to30.
- Edit the
ldap-identification-stage.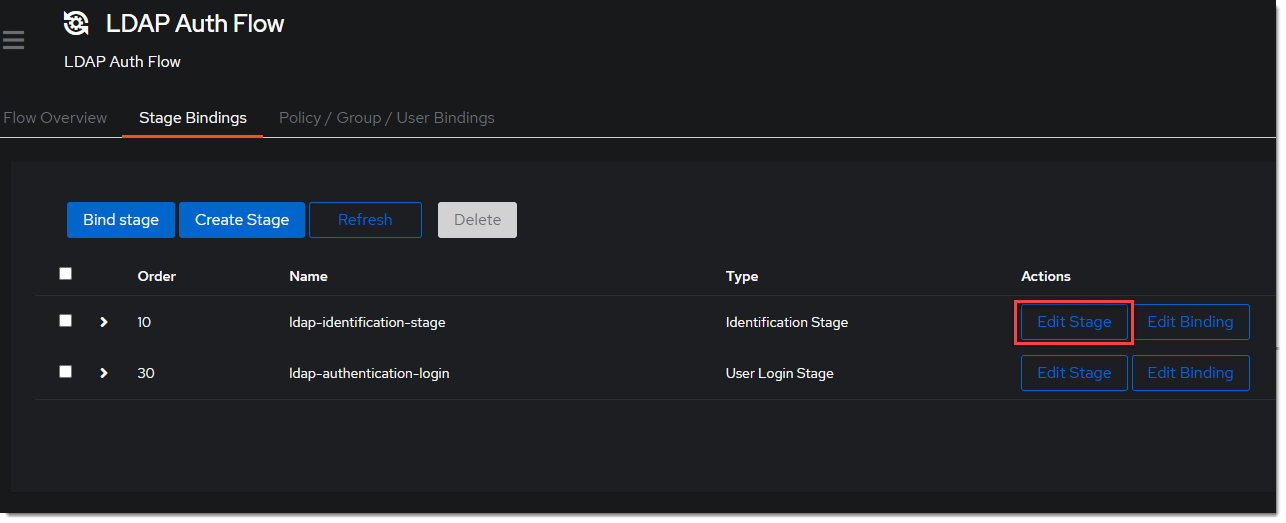
- Change the Password stage to
ldap-authentication-password.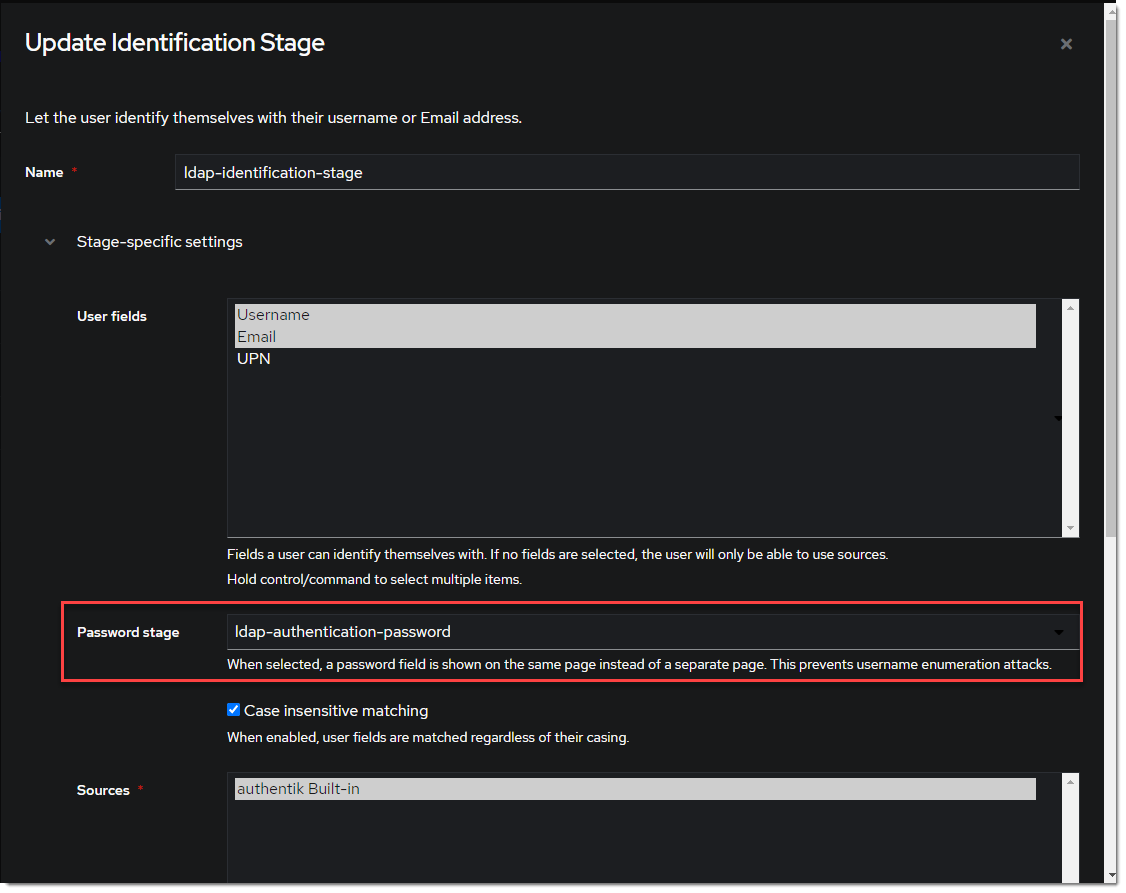
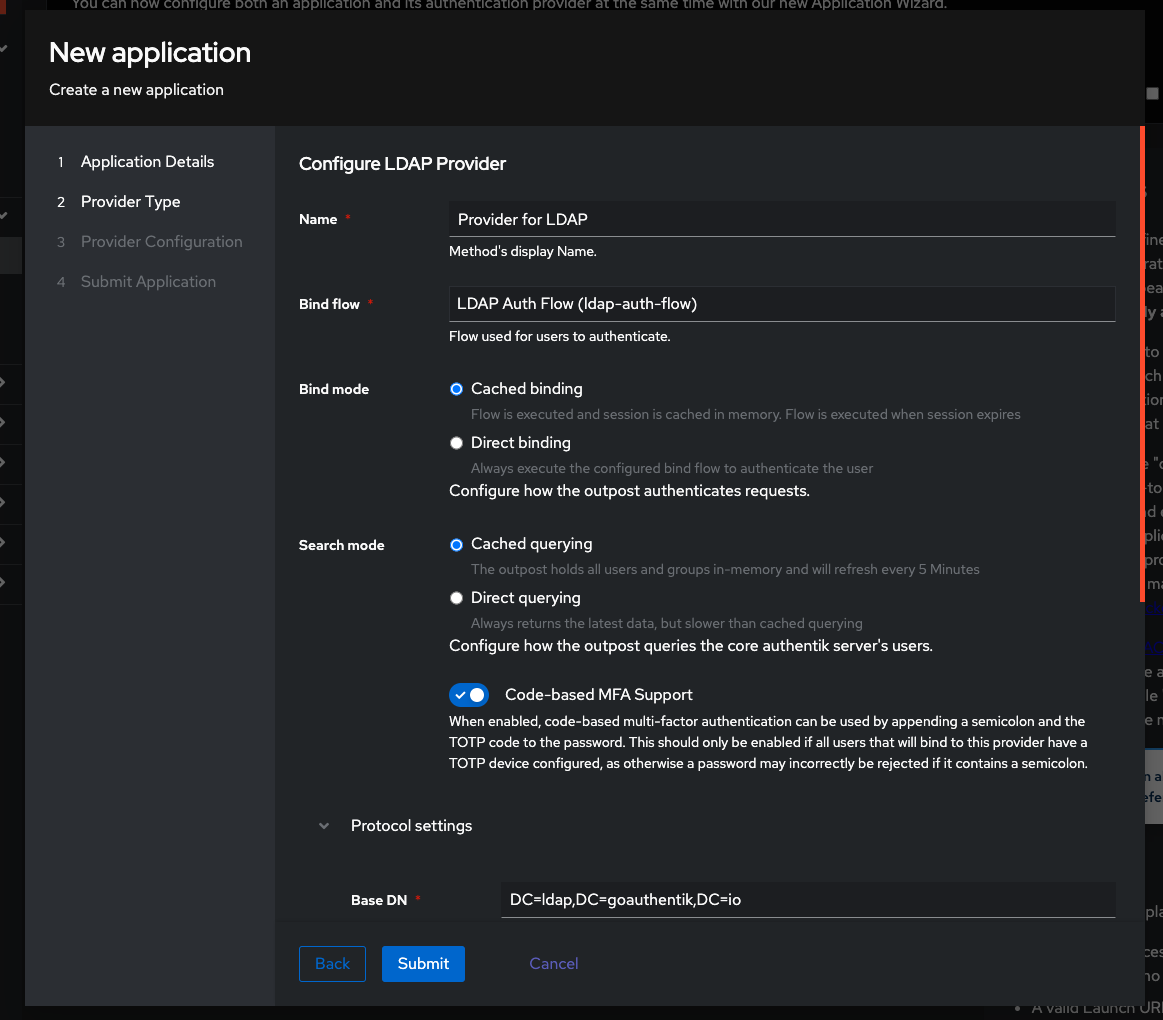
Create LDAP Application & Provider
- Create the LDAP Application under Applications -> Applications -> Create With Wizard and name it
LDAP.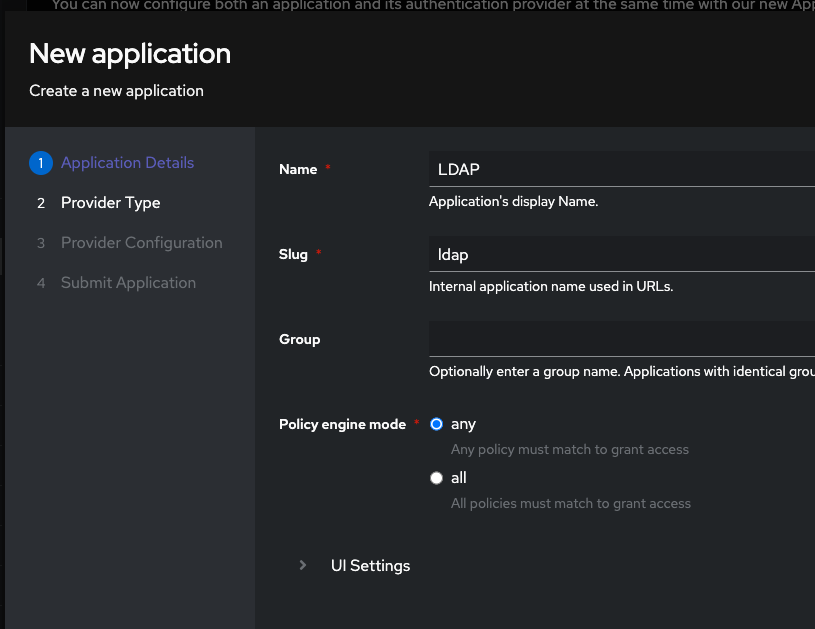
Assign LDAP permissions
- Navigate to the LDAP Provider under Applications -> Providers ->
Provider for LDAP. - Switch to the Permissions tab.
- Click the Assign to new user button to select a user to assign the full directory search permission to.
- Select the
ldapserviceuser in the modal by typing in its username. Select the Search full LDAP directory permission and click Assign
Create LDAP Outpost
- Create (or update) the LDAP Outpost under Applications -> Outposts -> Create. Set the Type to
LDAPand choose theLDAPapplication created in the previous step.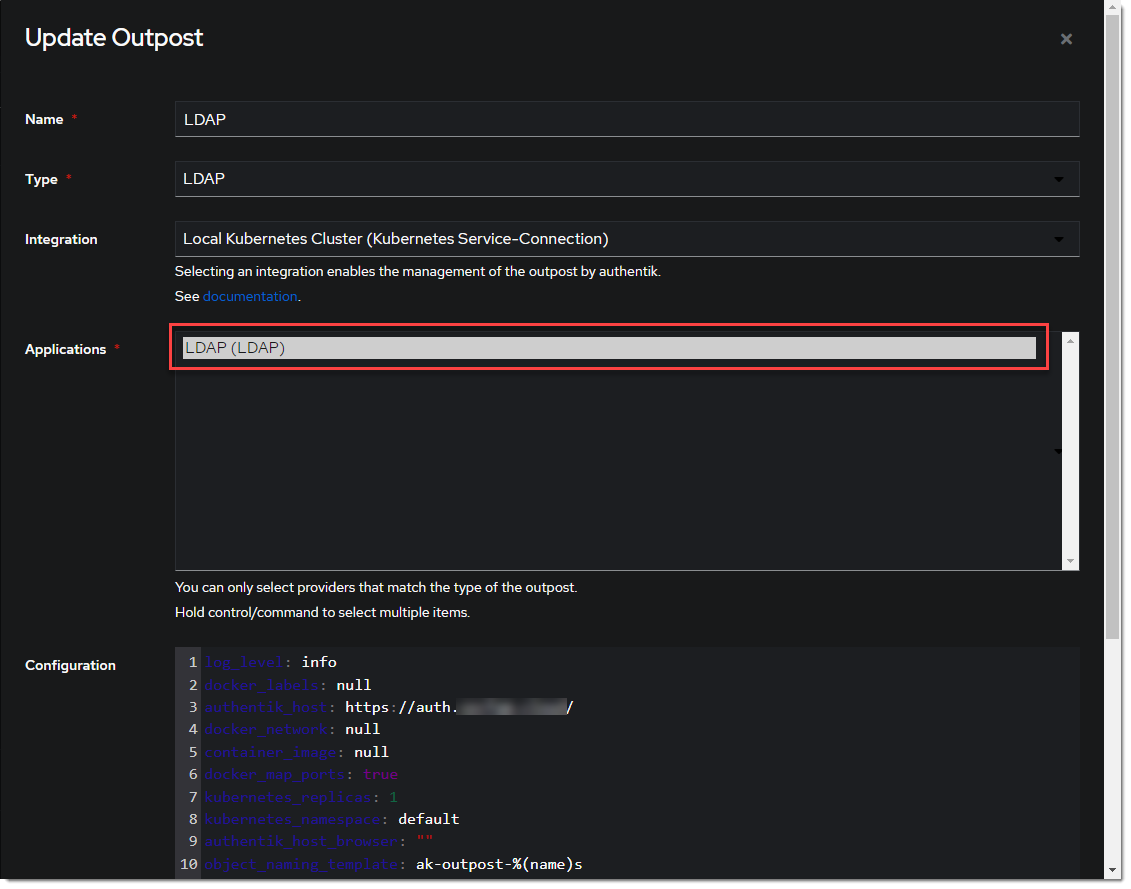
The LDAP Outpost selects different providers based on their Base DN. Adding multiple providers with the same Base DN will result in inconsistent access
ldapsearch Test
Test connectivity by using ldapsearch.
ldapsearch can be installed on Linux system with these commands
sudo apt-get install ldap-utils -y # Debian-based systems
sudo yum install openldap-clients -y # CentOS-based systems
ldapsearch \
  -x \
  -H ldap://<LDAP Outpost IP address>:<Port number 389> \ # In production it is recommended to use SSL, which also requires `ldaps://` as the protocol and the SSL port
  -D 'cn=ldapservice,ou=users,DC=ldap,DC=goauthentik,DC=io' \
  -w '<ldapuserpassword>' \
  -b 'DC=ldap,DC=goauthentik,DC=io' \
  '(objectClass=user)'
This query will log the first successful attempt in an event in the Events -> Logs area, further successful logins from the same user are not logged as they are cached in the outpost.